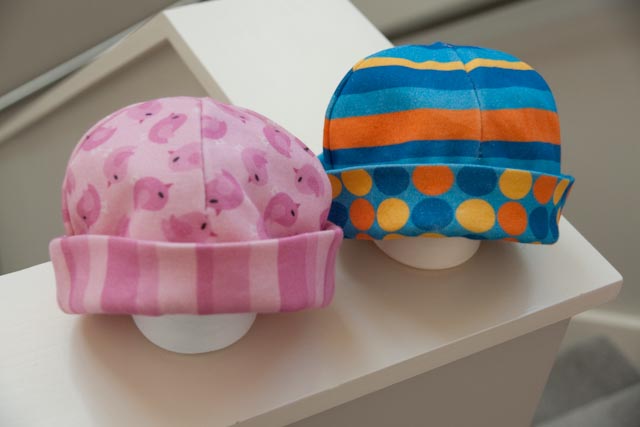
This is a tutorial for sewing up my cut and sew, pre-printed reversible baby beanies which are available on Spoonflower.
UPDATE AUGUST 2012: After a number of requests for a paper pattern for these little beanies, I've made the full pattern pieces and a PDF version of this tutorial available for sale on my online store. That way you can use any stretch knit fabric you like!
UPDATE AUGUST 2012: After a number of requests for a paper pattern for these little beanies, I've made the full pattern pieces and a PDF version of this tutorial available for sale on my online store. That way you can use any stretch knit fabric you like!
Requirements:
- My pre-printed fabric beanie pattern
- Coordinating thread
- Sewing machine or serger.
- Needle and thread
Instructions:
1. First step – prewash your fabric. It will shrink. Cotton knit does, but that is not a problem as I’ve allowed for shrinkage on my pattern.
2. Cut out your pattern pieces. You will need two (2) matching pieces for one beanie. They should each look like this:

3. Fold each piece in half down the centre, printed sides together.

4. Sew down the short seam at the top and bottom of the pieces, using a 6mm (¼ inch) seam. I use a serger, but if you use a regular machine, use a zig-zag or stretch stitch.

You should have this when you are done...four seams altogether:

5. Open the pieces out, and place them right sides together. Make sure you match the patterns!


6. Pin the pieces together – leaving an opening of around 1.5 inches for turning. I find it easier to change the direction of my pins so I don’t miss them! The opening should be about 2 inches from the centre of the side... This way your handsewing or maching stitching will be hidden under the cuff.


7. Sew around the circumference, again either with a serger or regular zig-zag stitch. Don’t forget to leave that opening!!

8. Turn the beanie right way through using your opening...


9. Push the raw edges through, and give it a press. This will give you a good line for stitching closed the opening.

Push one end of the hat inside the other, and press around the fold line to give a nice finish. Nearly done!

10. Close the opening. I prefer to handstitch, taking very small stitches on alternate sides (I use my knee to hold the hat while I stitch). You could always take a very very small seam on your sewing machine if you are averse to hand sewing...


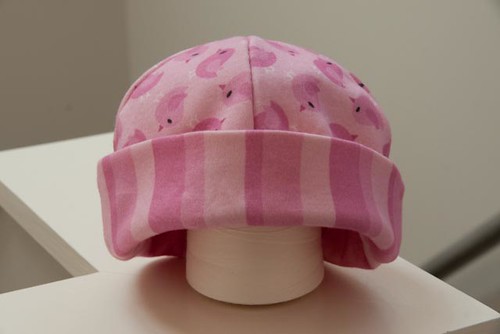
11. Turn up your cuff and you are done! Easy as that. J


There you go...an easy reversible beanie for a little baby. Enjoy!
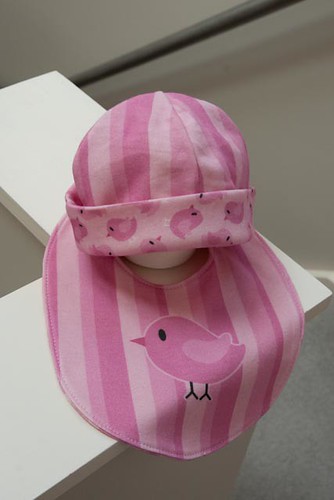
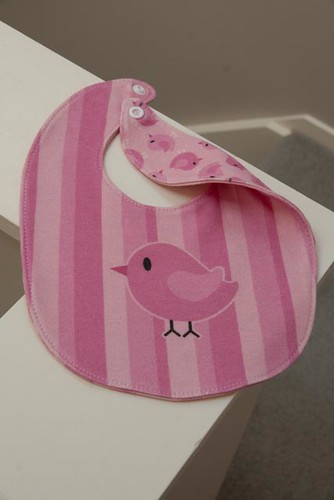
Coming soon..a tutorial for the matching reversible bibs!