It's been a while since I posted. A lot going on in this neck of the woods! I thought I'd share the final results of the makeover we just gave our little girl's bedroom. It's just finished and I'm really, really happy with it. So is she! Which is the important part right? :)
It took me literally months to design the fabric for the bedding and the decals for the walls, etc. I kept getting distracted with work. Unfortunately everyone else's designs were coming before Jessie's, so I gave myself a deadline to get it done. This is the end result...
I had in my mind an overall image of what we were going to do. I let my daughter choose colours (purple and aqua blue) and she likes my swirl designs, along with birds and owls - so that was our starting point. We were thinking a large tree for the wall - and matching branches and birds for the bedding. So off I went designing...
I did a number of print tests to match and coordinate with the minky I was using for the blanket backing. I took the final fabric swatches off to the local paint shop to get a colour match for the blue. The walls had to be blue too apparently! Big thanks to my husband for agreeing to paint the room. He did a fine job...
I knew that cutting out a full tree from a sheet of the decal fabric I was using was going to be too much of a mission. Trust me - cutting out all of those owls, birds and blossoms I had drawn was MORE than enough work! So after I designed the blanket - I went searching on Etsy to find someone with a plain white tree wall decal that would work. I got very lucky and found the one in the picture with swirly branches.
It was a mission to put up - you really need two adults at least - rather than just me and my 7 year old - but it looks great. I have to say, I well prefer my fabric decals to the vinyl though. The fabric ones are so easy to reposition - the vinyl is not. It took about 2 hours to get the base tree up in total...and it was only two pieces! It's is lovely though - and worth the effort...
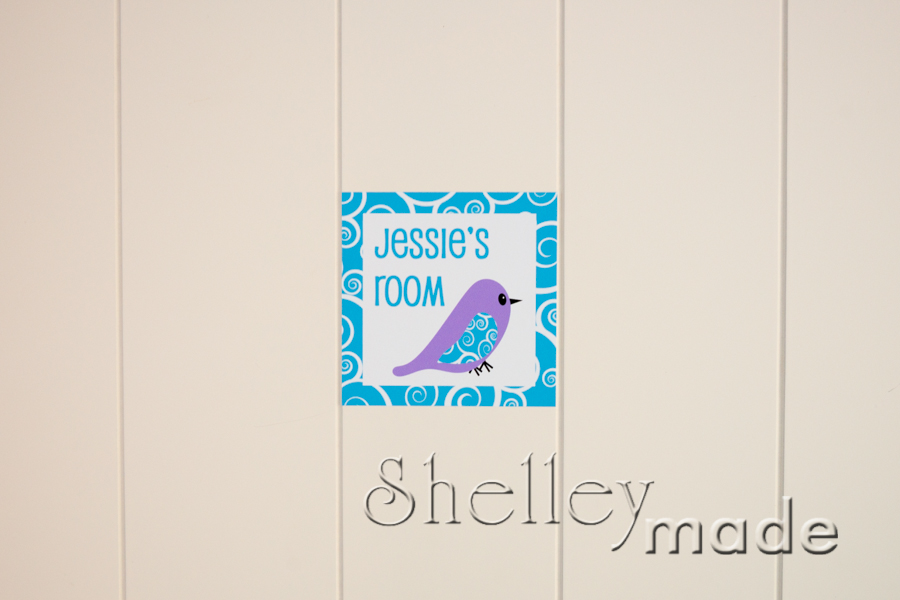
Anyway - I used my decals on the door...
On a wooden tissue box cover that I painted the wall colour...
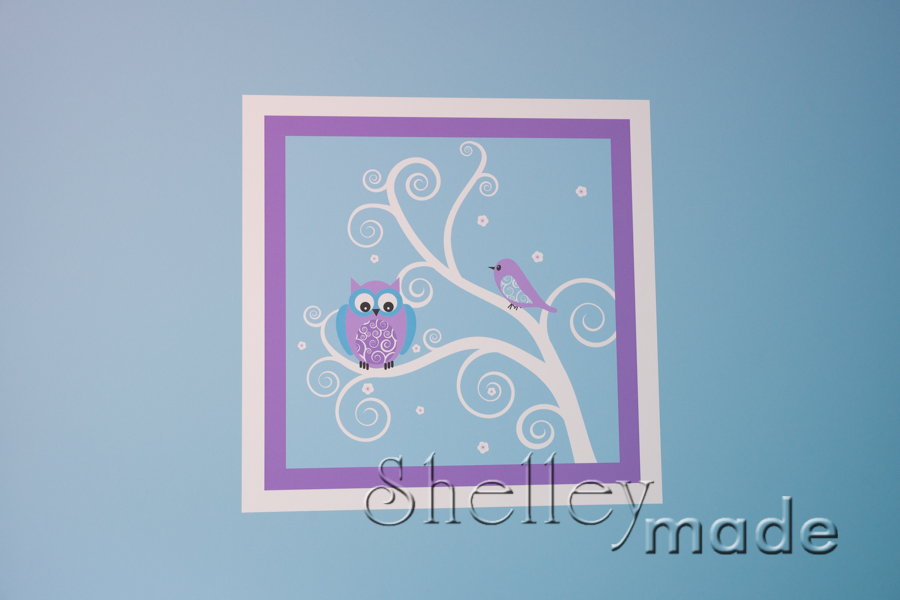
On a "window" for above the bed (see my nice matching decal background/wall colour!)...
And of course the blossoms, owls and birds all over the tree...
I'm very happy with the colour match between the fabric and the decals...it's very very close indeed!
I used a matte satin called "Silky Faille" for the bed covering, the pillowcase, and the little throw cushions. It's such a lovely fabric. I backed the bedding in a lovely soft purple minky called "Jewel", which again matched one of the purples exactly.
Here is a close up of the pillowcase, and the matching throw pillows...
Yes - she really does like it!
Showing posts with label pillowcase. Show all posts
Thursday, 22 January 2015
Friday, 15 February 2013
Little Boy Bedroom Part 4 - Pillowcase
Hello again!
So...we have the wall canvases...the lampshade...the roman blind...now we move on to the bedding. The pillowcase to be exact!
UPDATE: This tutorial has been very, very popular, and after numerous requests for me to make this a PDF downloadable pattern - I finally have. I've included cutting dimensions to give a little more ease on a standard size pillow, and full step by step instructions with photos. If you would like a copy of the revised tutorial, - you can find it in my store right now by clicking on the image here:
The kind of pillowcases we use here have a flap on the inside to keep your pillow from falling out. I have recently found out that these are called "Housewife Pillowcases". As opposed to the ones with no flap, which I believe are called "Bag Pillowcases". I much, much prefer them with a flap.
I made my pillowcases out of a yard (36" by 42") of fabric. It might take a little more or less depending on how many different fabrics you want to use, and if they have a "direction". This example has just one fabric throughout...
This one has a different trim only...
And these ones have different contrast piece and trim piece...
The room is nearly done! Just the quilt and wall decals to go!
Subscribe to:
Posts (Atom)