Don't be afraid of the zip!!! That's what I was going to call this tutorial - but I thought it probably wouldn't come up in the right searches! :)
Sewing an invisible zip into a pillow or cushion (depending on where you live, and what you call it) is not scary. Really. Truly. Hopefully this tutorial will show you that! It also makes a lovely, professional looking cushion.
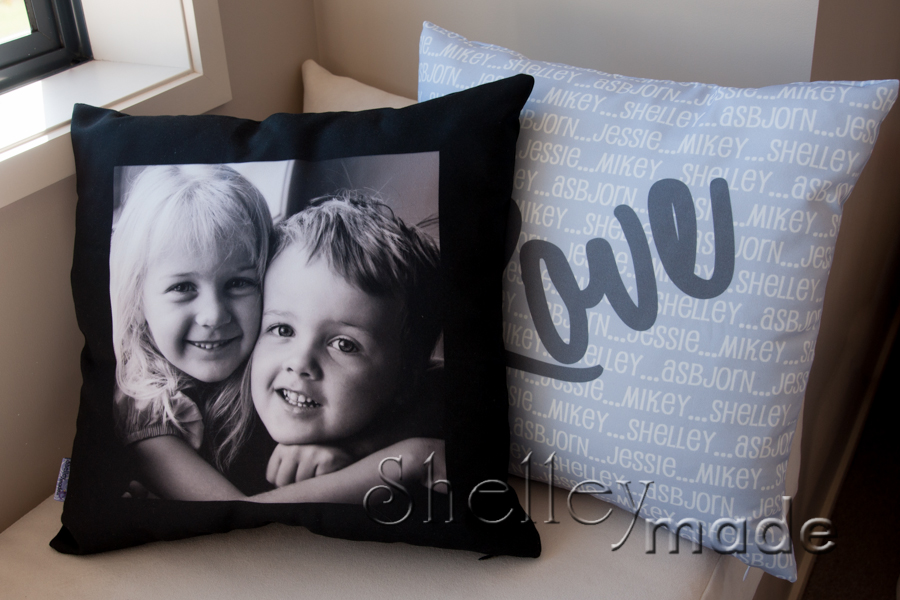
I've used my own fabric designs here - but you can use any piece of fabric you like - at any size you like. A fairly standard size seems to be 18 inches - which is also the length of a Fat Quarter, so that's what I've gone with.
 You will need:
- 2 pieces of Fabric - 18"x18" inches (45.75cm by 45.75cm)
- Coordinating thread
- Scissors or rotary cutter and mat
- 1 invisible zipper (I used 16" long)
- A zipper foot (either regular zipper foot or an invisible zipper foot)
- A pillow/cushion insert
Step One - Prepare
First you need to get your squares ready. Cut them out to size, then you want to protect the edges from fraying.
To do this - you can either use a zig zag stitch right along the edges of each piece on your sewing machine, OR you can use an overlocker/serger like I did in the examples, OR you can use pinking shears if you have them.
Finishing the edges like this before you start to sew will make it a whole lot easier, and tidier than trying to do it at the end.
Step Two - Install the Zipper
In my images I'm using an invisible zipper foot - but it's not absolutely necessary. I just prefer using one. A regular zipper foot will work just fine.
First - open up your zipper, then line it up with the bottom of your front panel as shown in the next two images:
You want the zipper to be upside down, with the open end lined up at the far right - and the opened zipper head at the left. Don't worry if your zipper doesn't go the whole length of the panel - as long as it will open up enough for you to get your insert in it's just fine! This way, you can sometimes make do with a shorter (and cheaper) zipper if it is all you have to hand.
Now it's time to sew. See where my finger is pointing in the picture above? That's where we are going to start sewing...1.5" (3.8cm) in from the end. Put a pin in there to remind you that's where you are starting. Now, some people will say you should iron the teeth (the interlocking pieces) of the zip flat now - but I don't find that necessary. I do raise them a little with my fingernail as I'm feeding it through the machine and I find that is enough.
Install your zipper foot. In my case (with the invisible zipper foot), I needed to use the centre needle position, and line the groove up on the left with the zipper teeth. I've moved the fabric through the 1.5 inches I needed, and now we sew as close to the right side of the teeth as we can. Remember to backstitch both at the start and end of stitching.
Go all the way down as far as you can without hitting the zipper head! :)
Now - before you head off to do the other side - a tip. Check you can close your zipper right now. Before you go any further. That way, if you have sewn a little too close to the teeth, at least you will know it's on this side - and it will make fixing it a lot easier :) It's unlikely - but if the zip does catch, just unpick the stitches causing the issue, and re-sew just that section.
Right now - with the zip closed for testing, you should have something that looks like this:
Open that zip up again, and place your front and back panels together like this, so their bottoms meet!:
Now, grab that stray other side of the zipper - and place it so that it faces the opposite way to the first one - like this:
You are going to attach it exactly the same way as before...again, 1.5" down from the top...but with the fabric on the other side of your foot, like this:
It might seem strange to have the fabric on the right of the machine rather than the left - but I find I get my zippers lined up much nicer this way - as I am starting with the same end each time.
You should now have a fully sewn in zipper! Well done :)
Step 3 - Complete the Cushion
To complete the cushion we need to do two things. First, close the 1.5 inch gaps on each size of the zipper, then sew around the three remaining sides.
Fold the front and back panel together like this:
Your corner should match up nicely, and we now want to sew from where I am pointing - out towards the edge.
To close the gaps, I change to my regular zipper foot. You might already be using yours, if you don't have an invisible zipper foot. I want to get as close to my zipper stitching line as I can. Being a little further in from the line is fine - in fact it helps to close up any gap you might have where the zipper can show through to the right side. Make sure you pull the zipper out of the way while you sew.
I usually stop just a little in from the edge - when I hit the overcasting.
Take it out and turn it over - you should have something like this:
Now do exactly the same on the other end, so that it ends up looking like this when the zipper is closed:
Now VERY IMPORTANT. Open your zip up. If you don't it will be very very hard to turn the finished cushion through the right way. :)
I usually use the width of my regular machine foot to finish off the cushion. Start at your top stitching line, and sew all the way around the three open sides.
So you should have something that looks like this:
Turn it through and your cover is complete!
Stuff with your favourite insert. I used an 18" one which made it nice and plump. Now admire your lovely hidden zip...
I hope you enjoyed the tutorial!